centos上使用xray客户端
安装Xray-core
- 脚本安装
xray github:https://github.com/XTLS/Xray-install
1 | bash -c "$(curl -L https://github.com/XTLS/Xray-install/raw/main/install-release.sh)" @ install |
- 手动下载
去github下载xray最新releases版版,解压1
2https://github.com/XTLS/Xray-core/releases/download/v1.8.24/Xray-linux-64.zip
unzip Xray-linux-64.zip1
2
3##移动解压出的二进制文件到 /usr/local/bin 目录:
mv xray /usr/local/bin/
chmod +x /usr/local/bin/xray1
2## 软连接方式也可
ln -s /software/xray/xray /usr/local/bin/xray
配置 Xray-core 作为客户端
Xray-core 的配置文件一般位于 /usr/local/etc/xray/config.json,你需要创建或编辑这个文件,配置 Xray 作为客户端连接到你的代理服务器。
1 | mkdir -p /usr/local/etc/xray |
根据你使用的代理协议(例如 VMess、VLESS、Shadowsocks 等),配置文件会有所不同。这里以 VMess 作为示例,创建配置文件 /usr/local/etc/xray/config.json:
1 | vi /usr/local/etc/xray/config.json |
配置文件示例(VMess 客户端):
1 | { |
也可通过windows版客户端直接导出配置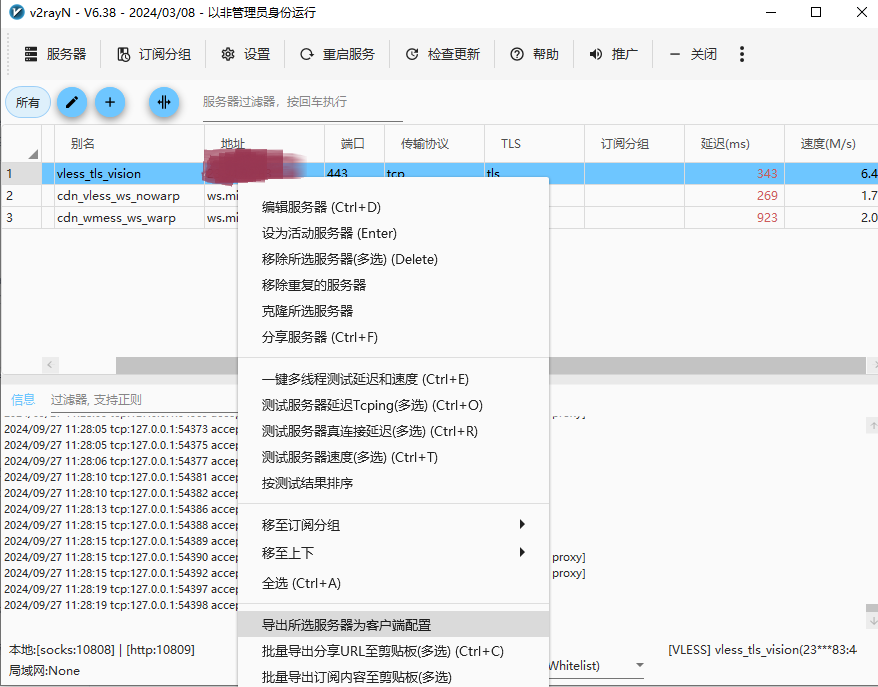
启动xray
- 手动启动
1
xray run -config /usr/local/etc/xray/config.json
- 配置xray-core为系统服务
创建systemd服务
1 | vi /etc/systemctl/system/xray.service |
完善服务文件
1 | [Unit] |
启动并设置开机启动
1 | systemctl daemon-reload |
检查代理是否成
1 | curl -x socks5//localhost:1080 http://www.google.com |
配置centos全局代理
| 环境变量 | 描述 | 值示例 |
|---|---|---|
| http_proxy | 为http变量设置代理,默认不填开头以http协议传输 | 10.0.0.51:8080 user:pass@10.0.0.10:8080 socks4://10.0.0.51:1080 socks5://192.168.1.1:1080 |
| https_proxy | 为https变量设置代理 | 同上 |
| ftp_proxy | 为ftp变量设置代理 | 同上 |
| all_proxy | 全部变量设置代理,设置了这个时候上面的不用设置 | 同上 |
| no_proxy | 无需代理的主机或域名;可以使用通配符;多个时使用“,”号分隔; | .aiezu.com,10...,192.168.., *.local,localhost,127.0.0.1 |
针对上面变量的设置方法:
- 在/etc/profile文件
- 在/etc/environment文件
- 在~/.bashrc 或 ~/.bash_profile 或 ~/.zshrc, source ~/.xxxx 后生效 env验证是否生效
- 在/etc/profile.d/文件夹下新建一个文件xxx.sh
source xxx后生效,如 source /etc/profile、source /etc/profile、source ~/.bashrc等。
env控制台打印环境变量可以验证是否生效。
写入如下配置
1 | export proxy="http://192.168.5.14:8118" |
而对于要取消设置可以使用如下命令,其实也就是取消环境变量的设置:
1 | unset http_proxy |
针对yum配置走代理:
经过测试其实只要设置上面的变量之后已经可以走代理了,但如果要单独设置,可以设置如下文件的变量:
1 | echo "proxy=http://127.0.0.1:8080/" >> /etc/yum.conf |
为 Docker 配置代理
Docker 需要单独配置代理。可以在 Docker 守护进程中设置代理。
创建 Docker 代理配置文件:
1
2sudo mkdir -p /etc/systemd/system/docker.service.d
sudo vi /etc/systemd/system/docker.service.d/http-proxy.conf添加代理配置
1
2
3
4[Service]
Environment="HTTP_PROXY=http://proxy_ip:proxy_port"
Environment="HTTPS_PROXY=http://proxy_ip:proxy_port"
Environment="NO_PROXY=localhost,127.0.0.1"重新加载并重启 Docker
1
2sudo systemctl daemon-reload
sudo systemctl restart docker